Let’s be honest for a second. Your WordPress site is probably already crying under the weight of eighteen different plugins that you “absolutely needed” but haven’t updated since 2022. Why add another one just to get a chatbot running? You don’t need a heavy plugin to make your site smarter. You just need a tiny bit of code and the right AI partner.
I’ve spent way too many hours cleaning up sites that crashed because of plugin conflicts. Trust me, the manual route is cleaner, faster, and makes you feel like a total pro. Plus, it keeps your site speed snappy, which Google absolutely loves. Ready to ditch the bloat and get your AI bot live?
What Is the Secret to Adding AI Without a Plugin?
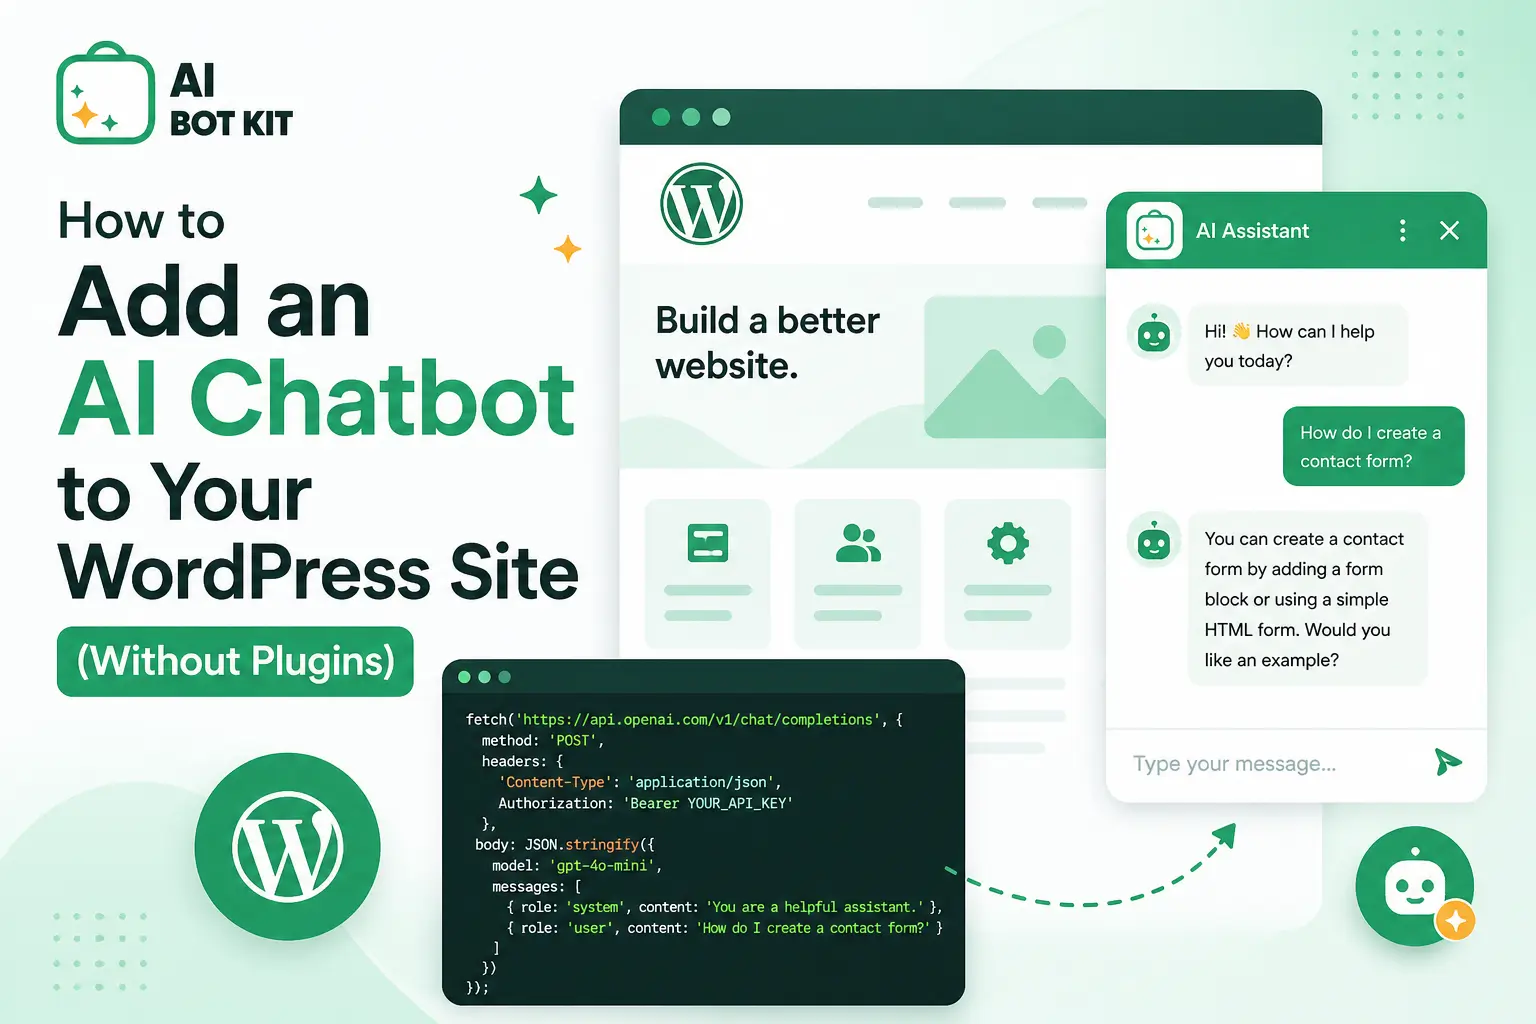
The secret lies in the footer script. Most high-end AI chatbot builders, like AIBotKit, provide a small snippet of JavaScript. You simply place this script in your site’s HTML, and the bot appears like magic. It’s the same way you’d add Google Analytics or a Facebook Pixel.
Why do people still insist on using plugins for this? Probably because they enjoy seeing that “Update Required” notification every three days. But you’re smarter than that. By using a direct script integration, you ensure that your chatbot loads independently of your WordPress theme’s core functions. This prevents those annoying layout shifts that ruin your user experience.
Why Should You Choose AIBotKit for Your WordPress Site?
I’ve tested a dozen different “AI” tools that were basically just fancy if-then statements. AIBotKit is different because it actually understands what your users want. It uses the latest LLMs to provide real answers instead of just pointing people to a dead-end contact form.
- Zero Impact on Backend Speed: Since the bot runs on a script, it doesn’t bog down your WordPress database.
- Custom Knowledge Base: You can feed it your documentation URLs so it knows your product better than you do.
- No Coding Required: You copy a code, but you don’t have to write the code.
- Visual Customization: You can make the chat bubble match your brand colors without touching a CSS file.
Is there anything worse than a chatbot that looks like it belongs on a 1990s geo-cities page? I don’t think so. AIBotKit lets you keep things looking sleek and modern. 🙂
How to Prepare Your WordPress Site for Manual Integration
Before you touch any code, you need to make sure your WordPress environment is ready. I always recommend doing a quick backup. It takes two minutes and saves you a lifetime of regret if you accidentally delete a bracket in your theme files.
First, check if your theme has a built-in “Header/Footer” section. Many premium themes like Astra, Divi, or GeneratePress have a specific box in the customizer for this. If yours does, you’re playing life on easy mode. If it doesn’t, don’t worry. We can still get it done via the Theme File Editor.
Where Do I Find My Script in AIBotKit?
- Log into your AIBotKit dashboard.
- Navigate to the Connect or Widget settings.
- Look for the Embed Code section.
- Copy the entire JavaScript snippet to your clipboard.
 1")
FYI, make sure you’ve already configured your bot’s personality and data sources in the dashboard first. A bot with no brain is just a very quiet window on your screen. :/
Step-by-Step: Adding the Code to Your Theme
Now we get to the “technical” part, which is actually just a fancy game of copy-paste. We want to place the script just before the closing </body> tag. This ensures that your entire website loads before the chatbot starts thinking, which keeps your PageSpeed insights looking healthy.
Option A: Using the WordPress Customizer
Many modern themes include a section for “Hooks” or “Scripts.” Check Appearance > Customize and look for any tab labeled “Advanced” or “Footer.” If you find a box labeled “Footer Scripts,” just paste your AIBotKit code there and hit publish. You’re done. Go grab a coffee.
Option B: Editing the footer.php File (The Pro Way)
If your theme is a bit more stubborn, you’ll need to go directly to the source.
- Go to Appearance > Theme File Editor in your WordPress dashboard.
- On the right-hand side, find the file labeled Theme Footer (footer.php).
- Scroll to the very bottom of the code.
- Find the line that says
</body>. - Paste your AIBotKit snippet right above that line.
- Click Update File.
Ever wondered why we put it at the bottom instead of the top? It’s all about the “critical rendering path.” We want your content to be the star of the show, while the chatbot acts as the helpful supporting character that arrives just a second later.
How Do I Train the Bot Using My Documentation?
A chatbot is only as good as the information it holds. This is where AIBotKit really shines compared to basic chat tools. You can literally point it at your GitBook documentation and let it learn everything.
Go to your AIBotKit dashboard and find the Data Sources tab. You can paste your documentation URLs there. The AI crawls the pages and indexes the information. Now, when a customer asks, “How do I reset my password?” the bot actually knows the answer instead of saying “I’ll get a human for you.”
- Accuracy: The bot uses your actual text, reducing “hallucinations.”
- Time-Saving: You don’t have to write manual FAQs.
- Dynamic Updates: If you change your docs, you can refresh the bot’s memory with one click.
IMO, this is the single best feature for any SaaS or e-commerce owner. It basically gives you a 24/7 support team that never asks for a raise or takes a lunch break.
Testing and Optimizing Your AI Chatbot
Once the code is live, open your site in an incognito window. Do you see the beautiful little chat bubble in the corner? If not, clear your site cache. WordPress loves to hold onto old versions of your pages like a sentimental hoarder.
Try asking the bot a few difficult questions. Test it with the weird stuff customers usually ask. If it struggles, go back to the AIBotKit dashboard and tweak the “System Prompt.” This is where you tell the bot how to behave. Do you want it to be professional and stiff, or friendly and helpful? I always vote for friendly. No one wants to talk to a robot that sounds like a tax auditor.
Common Mistakes to Avoid When Adding Manual Scripts
I’ve seen a lot of people mess this up, so let’s make sure you don’t. The most common error is pasting the code inside another script tag. Your AIBotKit code is its own entity. Don’t try to nest it like a Russian doll.
Another big mistake? Forgetting about Child Themes. If you edit the footer.php of a parent theme, your chatbot will disappear the next time you update the theme. Always use a child theme or a “code snippets” functionality to ensure your changes are permanent. Seriously, don’t make me say “I told you so” when your bot vanishes next month.
How Does This Help Your SEO?
You might think a chatbot is just for support, but it’s actually an SEO powerhouse. Google tracks “dwell time”—the amount of time someone stays on your site. If a user starts a conversation with your AI, they stay on the page longer. This tells search engines that your content is valuable.
Furthermore, AIBotKit is lightweight. Unlike bulky plugins that load dozens of CSS and JS files, a single script has a minimal footprint. Faster sites rank higher. It’s that simple. By avoiding the plugin route, you’re giving your SEO a subtle but effective boost.
Final Thoughts on Manual AI Integration
Adding an AI chatbot to WordPress without a plugin isn’t just about being a minimalist. It’s about taking control of your site’s performance and providing a better experience for your visitors. You save on resources, avoid plugin conflicts, and keep your code clean.
AIBotKit makes this process incredibly easy. You get a powerful, document-trained AI that lives in a tiny snippet of code. What more could you want? Stop letting your WordPress site struggle under the weight of unnecessary plugins and start using scripts like a pro.
Ready to see what your site can really do when it has a brain? Go get your embed code and get started. Your visitors (and your server) will thank you. 🙂
Summary of Key Steps:
- Get your code from the AIBotKit dashboard.
- Locate your footer via the WordPress Customizer or Theme File Editor.
- Paste the script before the closing
</body>tag. - Train the bot by linking your documentation.
- Test in incognito mode to ensure everything is firing correctly.